Facial steaming is a simple, budget-friendly way to improve your skincare routine without booking an expensive appointment. People have used warm water and steam for centuries to help skin look fresh, vibrant, and healthy. It feels like a luxury spa treatment, yet you can easily do it in your own kitchen with just a few household items. By using heat and moisture, you can address common issues like clogged pores or dullness in just a few minutes each week.
This method works because it combines warmth with hydration to prep your skin for other products. It doesn’t require high-tech gadgets or chemical peels to see a difference in your reflection. Instead, it relies on the natural way your body reacts to heat. If you’ve been looking for a way to get that post-facial glow at home, learning how to steam properly is a great first step.
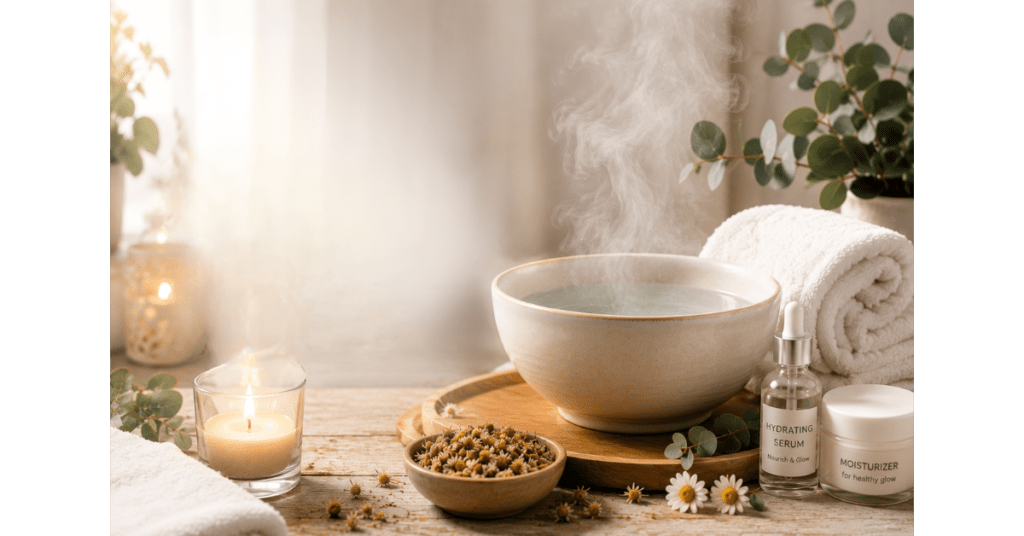
Main Benefits of Steam Facial for Your Skin Health
The primary reason to include steam in your routine is for the biological boost it gives your face. When warm steam hits your skin, it causes your blood vessels to dilate, which significantly increases circulation. This process brings fresh, oxygenated blood to the surface, giving you a natural flush and a healthier appearance. Because your skin is the largest organ of your body, keeping that blood flow active is essential for maintaining its vitality.
In addition to circulation, the heat from the steam helps soften the top layer of your skin. This makes it easier for your body to shed dead cells that might be sitting on the surface. When those layers are softened, your face feels smoother to the touch and looks much more radiant. It’s an effective way to deal with the minor buildup that happens throughout the day from pollution and sweat.
Steam also acts as a natural humectant by adding moisture directly to the surface. Moist skin is far more resilient than dry skin, and it tends to look younger and more plump. Because the warmth relaxes your facial muscles, the session can also double as a stress-relief technique. Taking ten minutes to sit still and breathe in the warm air is a great way to calm your mind while taking care of your complexion.
Deep Cleaning Your Pores and Removing Dirt
Cleaning your face with a standard wash often isn’t enough to reach the gunk trapped deep inside. Sebum is the natural oil produced by your skin, but when it hardens or mixes with dirt, it causes blockages. The warmth of the steam softens this sebum, making it less like a solid plug and more like a liquid. This makes it much easier to wash away the oil and debris that lead to acne or dull patches.
By loosening these materials, you can significantly reduce the number of blackheads that form on your nose and chin. When your pores are clear, they appear smaller and the texture of your skin looks much more refined. Regular steaming sessions keep the “doorways” of your skin clear so that impurities don’t have a chance to settle in long-term.
Boosting Blood Circulation and Product Absorption
One of the most overlooked benefits of facial steaming is how it prepares your skin for the rest of your products. After a session, your face is warm and slightly damp, which means it acts like a sponge. Dry skin often repels serums and heavy creams, leaving them to sit on the surface where they can’t do much good. However, steaming helps skin absorb products more effectively by opening up the pathway for active ingredients.
Because your circulation is elevated, your skin is also more active and ready to utilize the nutrients you apply. If you use expensive vitamin C serums or hyaluronic acid, you want them to penetrate as deeply as possible. Steaming ensures you aren’t wasting your money on products that just evaporate or get rubbed off on your pillowcase. It turns your basic routine into a high-performance treatment by maximizing the efficiency of every drop you apply.
How to Create a D.I.Y. Skincare Routine with Facial Steam
You don’t need a professional machine to get these results at home. Setting up a D.I.Y. station is straightforward and only takes a few minutes of prep time. The most important thing to remember is safety; the steam should feel calming, not painful. If the water is too hot, you risk causing broken capillaries or mild burns, so patience is a requirement during the setup phase.
Step-by-Step Procedure for a Safe D.I.Y. Facial Steaming Routine
Creating a relaxing facial steam at home is simple and requires only a few basic items. Follow these steps to enjoy the benefits safely and effectively.
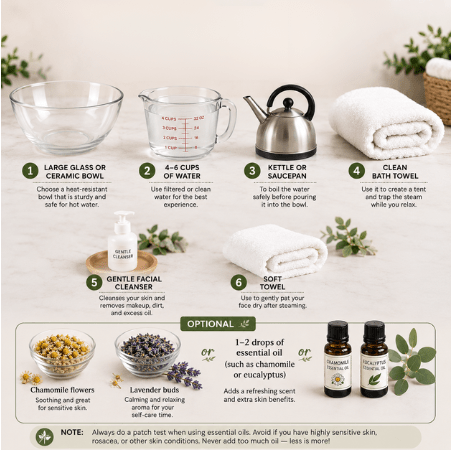
What You’ll Need
- Large glass or ceramic bowl
- 4–6 cups of water
- Kettle or saucepan
- Clean bath towel
- Gentle facial cleanser
- Soft towel
- Optional: Chamomile flowers, lavender buds, or 1–2 drops of essential oil (such as chamomile or eucalyptus)
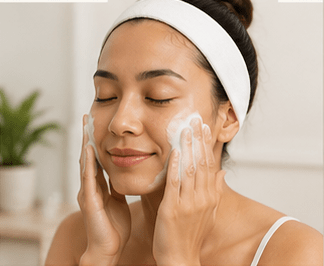
Step 1: Cleanse Your Face
Wash your face with a gentle cleanser to remove makeup, sunscreen, dirt, and excess oil. Pat your skin dry with a clean towel.
Why it matters: Cleansing first prevents dirt and impurities from being pushed deeper into your pores during steaming.
Step 2: Heat the Water
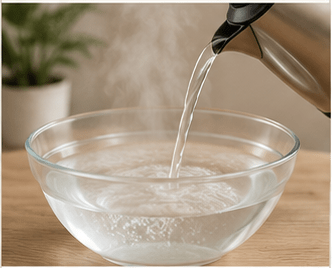
Bring 4–6 cups of water to a boil using a kettle or saucepan. Carefully pour the hot water into a heat-resistant glass or ceramic bowl.
Allow the water to cool for 2–3 minutes before using it. The steam should feel warm and soothing—not painfully hot.
Step 3: Add Optional Herbs or Essential Oils
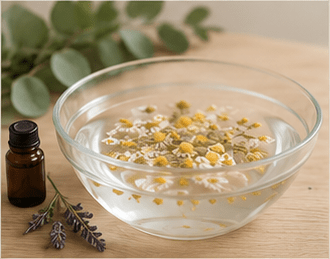
For a spa-like experience, customize your steam by adding one of the following:
- Chamomile flowers for sensitive skin
- Lavender buds for relaxation
- Eucalyptus leaves for a refreshing sensation
- 1–2 drops of skin-safe essential oil (optional)
Tip: Avoid using too much essential oil, especially if you have sensitive or reactive skin.
Step 4: Prepare Your Steam Station
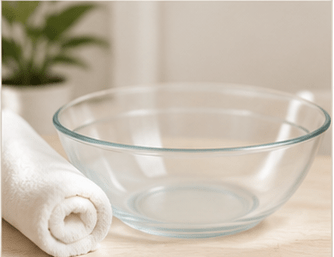
Place the bowl on a stable table where you can sit comfortably. Position a chair so you can lean forward without straining your neck or shoulders.
Step 5: Create a Steam Tent
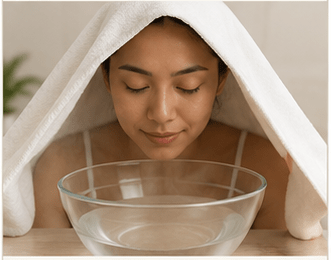
Sit comfortably and lean over the bowl. Drape a clean towel over your head and around the bowl to trap the steam.
Keep your face 6–10 inches (15–25 cm) away from the water to avoid burns.
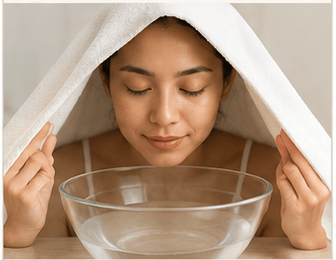
Step 6: Steam Your Face
Close your eyes and breathe normally while allowing the warm steam to surround your face.
Steam for 5–10 minutes, depending on your comfort level.
If the steam becomes too hot, lift one side of the towel to let in cool air or move your face farther away from the bowl.
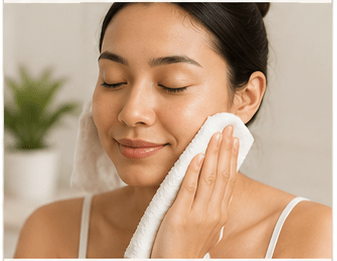
Step 7: Pat Your Face Dry
When you’re finished, remove the towel and gently pat your face with a clean, soft towel.
Leave your skin slightly damp to help it absorb the skincare products you’ll apply next.
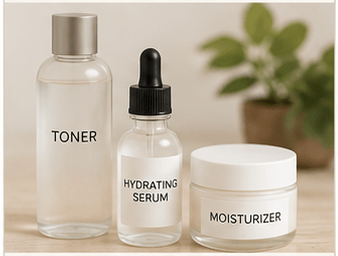
Step 8: Apply Your Skincare Products
Take advantage of your freshly cleansed skin by applying:
- Hydrating toner (optional)
- Hyaluronic acid or hydrating serum
- Moisturizer to lock in hydration
If your skin is congested, you can also apply a clay mask immediately after steaming before continuing with your skincare routine.
Safety Tips
- Steam your face once a week (up to twice weekly for oily skin).
- Never place your face directly over boiling water.
- Stop immediately if you experience discomfort, dizziness, or excessive heat.
- Avoid facial steaming if you have rosacea, eczema, broken capillaries, severe sunburn, or very sensitive skin.
- Always follow with a moisturizer to protect your skin’s moisture barrier.
Following these steps will help you enjoy a relaxing at-home facial steam while minimizing the risk of irritation and maximizing the benefits for healthier, glowing skin.
Post-Steam Care and Common Mistakes to Avoid
The minutes immediately following your steam are the most critical for your skin health. Since your pores are receptive and soft, this is the time to perform any extra cleaning or deep hydration. However, don’t get carried away with aggressive scrubbing or picking at your skin. Your face is more sensitive when it’s warm, and heavy-handed extractions can lead to scarring or long-lasting redness.
Another common mistake is steaming too frequently. While it feels great, doing this every day can actually strip your skin of necessary oils and cause irritation. For most people, once a week is the perfect frequency to see results without causing stress to the moisture barrier. If you have extremely oily skin, you might try twice a week but always pay attention to how your skin reacts the next day.
What to Apply After Your Face is Steamed
Once you finish your session, your skin is a blank canvas. If you struggle with congestion, applying a clay mask right now is highly effective. The clay can pull out the softened debris much easier than it could on cold, dry skin. Rinse the mask off with lukewarm water once it starts to dry, but don’t let it get crumbly and cracked.
If you don’t need a mask, move straight to your hydrating steps. Apply a toner followed by a serum containing hyaluronic acid or glycerin to lock in the moisture from the steam. Finally, use a good moisturizer to seal everything in. This creates a protective seal that keeps your skin hydrated and glowing long after the steam has dissipated.
Facial steaming is a cost-effective and enjoyable way to upgrade your weekly skincare habits without much effort. By focusing on improved circulation and deep cleaning, you give your complexion a chance to reset and heal naturally. It turns an ordinary evening into a restorative moment that benefits both your appearance and your stress levels.
Remember to be consistent but gentle with your approach. Your skin appreciates a routine that respects its natural limits, so avoid using water that is too hot or steaming too often. If you listen to your skin and follow up with the right hydrating products, you will notice a clearer, brighter complexion in no time. Give yourself permission to slow down and enjoy this simple DIY luxury.
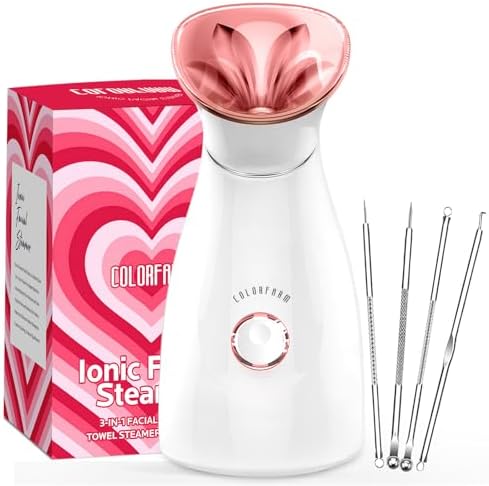
Recommended Products
Disclosure: As an Amazon Associate, I earn from qualifying purchases. We only recommend products that we believe offer value to our readers. Learn more.



Frequently Asked Questions (FAQ)
References
Government & Medical Organizations
- American Academy of Dermatology Association. (n.d.). Skin care tips.https://www.aad.org/public/everyday-care
- American Academy of Dermatology Association. (n.d.). How to safely exfoliate at home.https://www.aad.org/public/everyday-care/skin-care-basics/care/exfoliation
- National Center for Complementary and Integrative Health. (2023). Aromatherapy.https://www.nccih.nih.gov/health/aromatherapy
- MedlinePlus. (n.d.). Skin care. U.S. National Library of Medicine. https://medlineplus.gov/skincare.html
- Mayo Clinic Staff. (n.d.). Skin care: 5 tips for healthy skin.https://www.mayoclinic.org/healthy-lifestyle/adult-health/in-depth/skin-care/art-20048237
- Cleveland Clinic. (2024). How to Build a Skin Care Routine.https://health.clevelandclinic.org/how-to-build-a-skin-care-routine
- Cleveland Clinic. (2023). Hyaluronic Acid: Benefits, Uses and Side Effects.https://health.clevelandclinic.org/hyaluronic-acid
- National Institutes of Health. National Center for Biotechnology Information. Skin Barrier Function.https://www.ncbi.nlm.nih.gov/books/NBK482204/
- DermNet New Zealand. (n.d.). Facial redness and sensitive skin.https://dermnetnz.org/
- American Society for Dermatologic Surgery. (n.d.). Skin Care and Cosmetic Dermatology Resources.https://www.asds.net/
Scientific References
- Voegeli, D. (2013). The effect of cleansing and emollient products on skin barrier function. Journal of Wound Care, 22(10), 1–18.
- Proksch, E., Brandner, J. M., & Jensen, J. M. (2008). The skin: An indispensable barrier. Experimental Dermatology, 17(12), 1063–1072. https://doi.org/10.1111/j.1600-0625.2008.00786.x
- Draelos, Z. D. (2018). The science behind skin care: Moisturizers. Journal of Cosmetic Dermatology, 17(2), 138–144.