Scars act as permanent souvenirs on your skin. They tell a story of healing, but you might want that story to fade a little. While you cannot erase them overnight, learning how to remove body scars naturally can help them become less visible. You do not always need expensive procedures to smooth your skin and reduce redness. By understanding how your skin heals, you can choose the right approach for your body.
")
Understanding Scarring and Natural Healing
What Causes Scars?
When your skin gets damaged, your body works hard to fix it. This process creates collagen, which is a protein that acts like glue for your skin. Fibroblasts move to the wound site to produce this collagen, rebuilding the tissue. If the body produces too much or too little collagen, a scar forms.
Common causes of these marks include acne, injuries, surgeries, and burns. Stretch marks are also common, forming when the skin expands or shrinks too quickly. These marks happen because the middle layer of your skin tears.
Understanding Scar Types
Different scars form depending on how your skin heals after an injury. Understanding the type of scar you have can help you choose the most appropriate treatment approach.
- Hypertrophic Scars: These are raised, red scars that stay within the boundaries of the original wound. They often fade over time.

- Keloid Scars: These scars grow beyond the original injury site. They are thicker and usually require more attention than other types.

- Atrophic Scars: These look like small indentations or pits. Acne and chickenpox are frequent causes of this type.

- Stretch Marks: These are long, narrow streaks or stripes that develop when skin stretches rapidly. They often appear on the stomach, thighs, or arms.

The Skin’s Natural Repair Mechanisms
Your skin is constantly turning over. Old skin cells die and shed, making room for new ones. You can support this cycle by keeping your skin healthy and moisturized. Collagen and elastin work together to keep skin firm and flexible. If your skin is inflamed, the healing process can be disrupted. Keeping inflammation low helps the skin heal smoothly without leaving deep marks.
How to Remove Body Scars Naturally with Topical Treatments
Natural topical remedies can help improve the appearance of scars by keeping the skin hydrated, reducing inflammation, and supporting the skin’s natural healing process. For the best results, apply these treatments consistently on fully healed scars (not open wounds).
1. Aloe Vera
Aloe vera is well known for its soothing and anti-inflammatory properties. It contains vitamins, enzymes, and antioxidants that help moisturize the skin and support tissue repair.
What You’ll Need
- 1 fresh aloe vera leaf or
- 100% pure aloe vera gel
- Clean towel

Step-by-Step Procedure
Step 1: Clean the Scar
- Wash the scar and surrounding skin with mild soap.
- Pat the area dry with a clean towel.

Step 2: Prepare the Aloe Vera
- If using a fresh leaf, wash it thoroughly.
- Cut off a small section.
- Slice it open and scoop out the clear gel using a spoon.

Step 3: Apply the Gel
- Spread a generous layer directly over the scar.
- Make sure the entire scar is covered.

Step 4: Massage Gently
- Using your fingertips, massage the gel into the skin.
- Use gentle circular motions for 2–3 minutes.

Step 5: Let It Absorb
- Leave the gel until completely dry.
- No need to rinse unless it becomes sticky.

Step 6: Repeat
- Apply twice daily (morning and evening).
- Continue for at least 8–12 weeks for noticeable improvement.
Pro Tip: Store fresh aloe vera gel in the refrigerator for a cooling effect.
2. Coconut Oil
Coconut oil contains medium-chain fatty acids that deeply moisturize the skin and help improve skin elasticity.
What You’ll Need
- Virgin coconut oil
- Clean hands

Step-by-Step Procedure
Step 1: Wash the Area
- Clean the scar using warm water and mild soap.
- Dry completely.

Step 2: Warm the Oil
- Scoop about ½ teaspoon of coconut oil.
- Rub it between your palms until it melts.

Step 3: Apply to the Scar
- Spread a thin layer over the scar.

Step 4: Massage
- Massage gently using circular motions.
- Continue for 5–10 minutes to improve circulation.

Step 5: Allow the Oil to Absorb
- Leave it on without washing it.
- Wear loose clothing if needed.

Step 6: Repeat
- Apply once or twice daily.
Pro Tip: Applying coconut oil before bedtime allows it to moisturize the skin overnight.
3. Shea Butter
Shea butter is packed with vitamins A and E, which nourish the skin and help soften thick or rough scar tissue.
What You’ll Need
- Raw or unrefined shea butter

Step-by-Step Procedure
Step 1: Clean the Skin
- Wash and dry the scar.

Step 2: Scoop a Small Amount
- Use approximately a pea-sized amount.

Step 3: Warm the Butter
- Rub it between your fingers until it melts into oil.

Step 4: Apply Generously
- Cover the scar completely.

Step 5: Massage
- Massage gently for 3–5 minutes until fully absorbed.

Step 6: Repeat Daily
- Apply twice a day, especially before bedtime.
Pro Tip: Shea butter works especially well on older scars and stretch marks because it deeply moisturizes the skin.
4. Rosehip Oil
Rosehip oil is rich in essential fatty acids, antioxidants, and natural vitamin A compounds that help improve skin tone and texture.
What You’ll Need
- Pure cold-pressed rosehip oil
- Dropper bottle

Step-byStep Procedure
Step 1: Wash the Scar
- Clean and dry the affected area.

Step 2: Apply the Oil
- Place 2–3 drops directly onto the scar.

Step 3: Spread Evenly
- Gently spread the oil over the entire scar.

Step 4: Massage
- Massage using circular motions for 3–5 minutes.

Step 5: Let It Absorb
- Allow the oil to soak into the skin naturally.
- Do not rinse.

Step 6: Repeat
- Apply morning and evening for consistent results.
Pro Tip: Rosehip oil is particularly effective for scars with uneven pigmentation and can be used under moisturizer.
Tips for Better Results
To maximize the effectiveness of these natural treatments:
✔ Only apply products to fully healed scars, never open wounds.
✔ Be consistent—natural remedies typically require 8–12 weeks of regular use.
✔ Massage the scar during each application to improve blood circulation.
✔ Wear broad-spectrum sunscreen (SPF 30 or higher) to prevent scars from becoming darker.
✔ Stay hydrated and eat foods rich in vitamin C, vitamin E, zinc, and protein to support collagen production.
✔ Perform a patch test before using any new natural ingredient, especially if you have sensitive skin.
✔ Stop using any product if irritation, redness, or an allergic reaction develops.
Expected Timeline
| Time | What You May Notice |
| 2–4 weeks | Skin feels softer and better hydrated. |
| 6–8 weeks | Mild improvement in scar texture and color. |
| 8–12 weeks | More noticeable fading and smoother appearance with consistent use. |
| 3–6 months | Continued improvement, especially for newer scars. |
Note: Natural remedies can help reduce the appearance of scars, but they typically cannot completely remove deep, old, or keloid scars. If your scar is painful, enlarging, or significantly affecting your quality of life, consult a dermatologist for additional treatment options.
Natural Exfoliants
Natural exfoliation helps remove dead skin cells, encourages healthy skin renewal, and may improve the texture and appearance of scars over time. However, exfoliation should always be gentle, as excessive scrubbing can damage the skin and worsen scarring.
1. Sugar or Sea Salt Scrub
Sugar and sea salt act as natural physical exfoliants that gently buff away dead skin cells. When mixed with nourishing oils, they also help keep the skin moisturized during exfoliation.
What You’ll Need
- 1 tablespoon granulated sugar or fine sea salt
- 1 tablespoon carrier oil (olive oil, sweet almond oil, or coconut oil)
- Small mixing bowl
- Clean towel
")
Step-by-Step Procedure
Step 1: Clean the Skin
Wash the scar and surrounding skin with warm water and a mild cleanser to remove dirt, sweat, and excess oil. Pat the area dry with a clean towel.

Step 2: Prepare the Scrub
In a small bowl, combine:
- 1 tablespoon sugar or fine sea salt
- 1 tablespoon carrier oil
Mix well until you have a thick, even paste.

Step 3: Apply the Mixture
Using clean fingertips, spread a small amount of scrub directly over the scar.

Step 4: Massage Gently
Massage using slow, circular motions for 1–2 minutes. Apply only light pressure to avoid irritating the skin.

Step 5: Rinse Thoroughly
Wash off the scrub with lukewarm water until all residue is removed.

Step 6: Moisturize
Pat the skin dry and immediately apply a moisturizer, aloe vera gel, or natural oil to lock in moisture.

How Often to Use
- 1–3 times per week
- Avoid daily exfoliation, as it may cause irritation and delay healing.
Pro Tip: Use fine sugar instead of coarse salt on sensitive skin because it is gentler and less abrasive.
2. Lemon Juice Treatment
Lemon juice contains natural alpha-hydroxy acids (AHAs), including citric acid, which help exfoliate the skin and may improve the appearance of post-inflammatory hyperpigmentation. However, because lemon juice is highly acidic, it can irritate the skin and should only be used cautiously on fully healed skin. It is also important to protect your skin from sun exposure after use.
What You’ll Need
- Fresh lemon
- Clean water
- Cotton ball or cotton pad
- Moisturizer

Step-by-Step Procedure
Step 1: Perform a Patch Test
Apply diluted lemon juice to a small area of skin and wait 24 hours. If redness, burning, or irritation occurs, discontinue use.

If you experience redness, burning, itching, or irritation, discontinue use and avoid applying it to the scar.
Step 2: Clean the Scar
Wash the scar with a gentle cleanser and pat it dry.

Step 3: Dilute the Lemon Juice
Mix:
- 1 teaspoon fresh lemon juice
- 1 teaspoon clean water
This helps reduce the risk of skin irritation.

Step 4: Apply Carefully
Dip a cotton ball into the diluted solution and gently dab it onto the scar. Avoid getting it on broken, irritated, or sensitive skin.

Step 5: Leave It On Briefly
Allow the solution to remain on the skin for 5–10 minutes.

Step 6: Rinse Off
Rinse thoroughly with cool or lukewarm water.

Step 7: Moisturize
Apply a gentle moisturizer or aloe vera gel to soothe the skin.

How Often to Use
- 1–2 times per week
- Reduce frequency or stop use if irritation develops.
Important Safety Tips
- Never apply lemon juice to open wounds or freshly healed skin.
- Do not use it before going outdoors.
- Always apply broad-spectrum sunscreen (SPF 30 or higher) after using lemon juice, as it can increase your skin’s sensitivity to sunlight.
- If you experience burning, excessive redness, or peeling, stop using the treatment immediately.
Note: While lemon juice may help brighten dark marks caused by post-inflammatory hyperpigmentation, there is limited scientific evidence that it effectively treats scars. Because it can irritate the skin, many dermatologists recommend gentler alternatives, such as products containing niacinamide, azelaic acid, or vitamin C, for improving skin discoloration.
Other Potent Natural Ingredients
- Honey: Manuka honey is particularly useful for healing. It has antibacterial properties and acts as a humectant, pulling moisture into the skin. Apply it as a thin mask over the scar for twenty minutes before rinsing it off.
- Onion Extract: Some studies suggest that onion extract has anti-inflammatory benefits. It may help reduce the size and redness of hypertrophic scars. You can find this ingredient in various topical gels at the pharmacy. Results vary, so patience is necessary.
Dietary Habits to Help Remove Body Scars Naturally
Hydration and Nutrition for Skin Health
Your skin needs proper building blocks to repair it. Water is the foundation of skin health. Staying hydrated helps your skin remain elastic, which makes the healing process easier. Beyond water, specific nutrients play a major role in how well your skin recovers from damage.
- Vitamin C: This vitamin is mandatory for collagen synthesis. You can get it from oranges, strawberries, bell peppers, and broccoli.
- Vitamin E: This acts as an antioxidant. It protects your skin cells from damage. You can find it in nuts, seeds, and leafy green vegetables.
- Zinc: Zinc helps the body repair wounds. Lean meats, beans, and nuts are excellent sources of minerals.
- Omega-3 Fatty Acids: These fats have anti-inflammatory benefits. Eating fatty fish like salmon, or consuming flaxseeds and walnuts, can support skin repair.
Protecting Your Skin from Further Damage
Sun exposure is scar’s worst enemy. UV rays can make scars darker and harder to treat. You should wear broad-spectrum sunscreen with an SPF of 30 or higher every single day. Apply it directly over your scars when you go outside.
Avoid harsh scrubbing when you wash your skin. Use mild, fragrance-free soaps to keep your skin barrier intact. Keep the area moisturized to prevent the skin from pulling or cracking, which can interfere with the healing process.
Advanced Ways to Remove Body Scars Naturally
Massage and Circulation
Massaging a scar helps break down the fibrous tissue underneath. It also increases blood flow to the area, which brings more oxygen and nutrients to the site. Use gentle, circular motions or small kneading movements. You can start this once your wound has fully closed, and the stitches or staples are out.
Herbal Poultices and Pastes
- Comfrey: This herb has been used for years to help wounds heal. You can make poultice by soaking dried leaves in hot water. Apply the mixture to the skin. Only use this on unbroken skin for a limited time, as it is meant for external use.
- Calendula: This flower helps reduce inflammation and encourages tissue regeneration. You can find calendula in natural creams or infused oils. It is gentle enough to use daily on most types of scars.
When to Seek Professional Advice
Identifying Scars That May Need Medical Attention
Sometimes, natural methods are not enough. Watch your scar for signs of infection, such as extreme redness, swelling, heat, or discharge. If you have a keloid that continues to grow, you should see a doctor. Atrophic, or indented, scars are often deep in the skin. Natural remedies might improve their texture, but they usually require professional treatments to see significant changes.
Professional Treatments to Complement Natural Methods
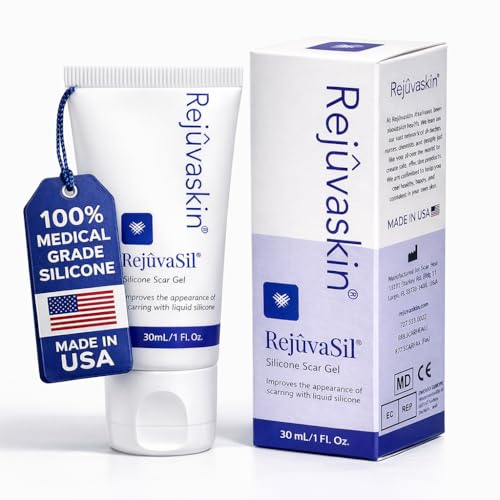
- Silicone Sheeting/Gels: These are gold standards for scar management. They keep the area hydrated and create a flat, soft environment for the skin to heal.
- Microneedling: This procedure creates tiny punctures in the skin. It forces your body to produce new collagen, which fills in indented scars.
- Laser Therapy: A dermatologist can use lasers to target pigment and smooth out the texture of the scar.
- Dermatologist Consultation: If you feel unhappy with the look of a scar, talk to a skin specialist. They can offer a treatment plan that pairs with your natural habits for the best results.
Removing body scars naturally is a process that requires patience and consistency. While you may not erase them entirely, you can significantly reduce their appearance. By supporting your skin with the right nutrients, keeping the area hydrated, and using a gentle massage, you give your body the best chance to heal. Remember that everybody is different, and results take time. Stay consistent with your routine, protect your skin from the sun, and listen to what your skin needs to look and feel its best.
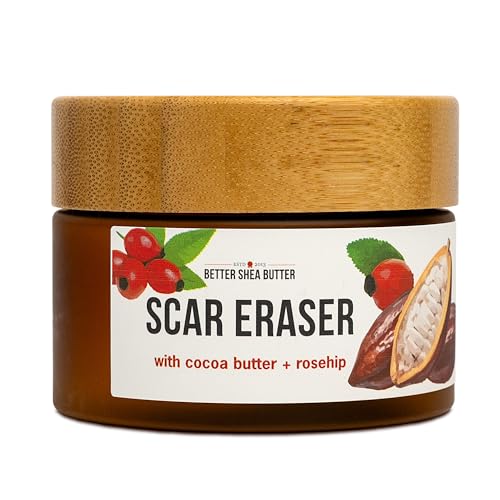
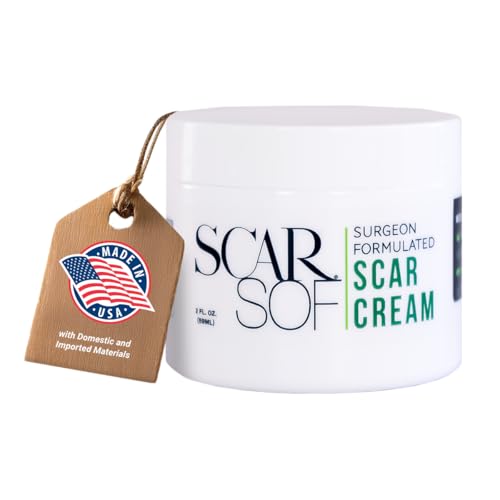
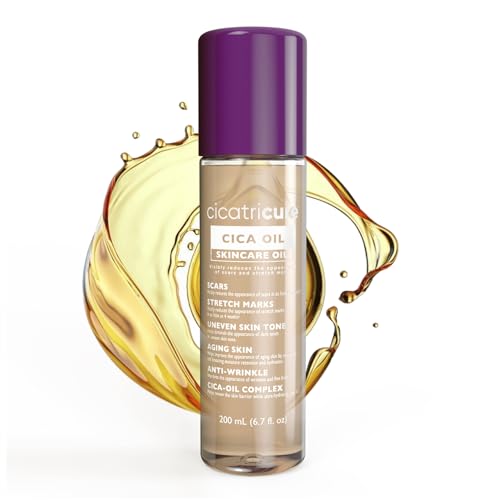
Recommended Product for Body Scars
Disclosure: As an Amazon Associate, I earn from qualifying purchases. We only recommend products that we believe offer value to our readers. Learn more.

Frequently Asked Questions (FAQs)

あなたの輝きの旅を共有しましょう
あなたのストーリーが誰かのインスピレーションになるかもしれません。
肌、自信、または全体的な幸福感に関する課題を乗り越えた経験は、重要です。
あなたの旅を共有し、成長するコミュニティの一員になりませんか。