Many people look in the mirror and notice their pores. These tiny openings on your skin are essential for oil and sweat, but they can seem larger when clogged or when skin loses elasticity. While you cannot physically close pores, learning how to minimize pores naturally helps them appear tighter and less noticeable. You do not need harsh chemicals to improve your skin’s look. Simple, consistent habits often bring the best results for a clearer complexion.
Genetics, age, and oil production play big roles in how your skin looks. When your skin produces too much oil, or when dirt and dead cells get trapped, pores stretch and become more visible. By adopting a gentle routine and better lifestyle choices, you can address these causes and help your skin look smoother and more refreshed.
Gentle Cleansing to Keep Pores Clear
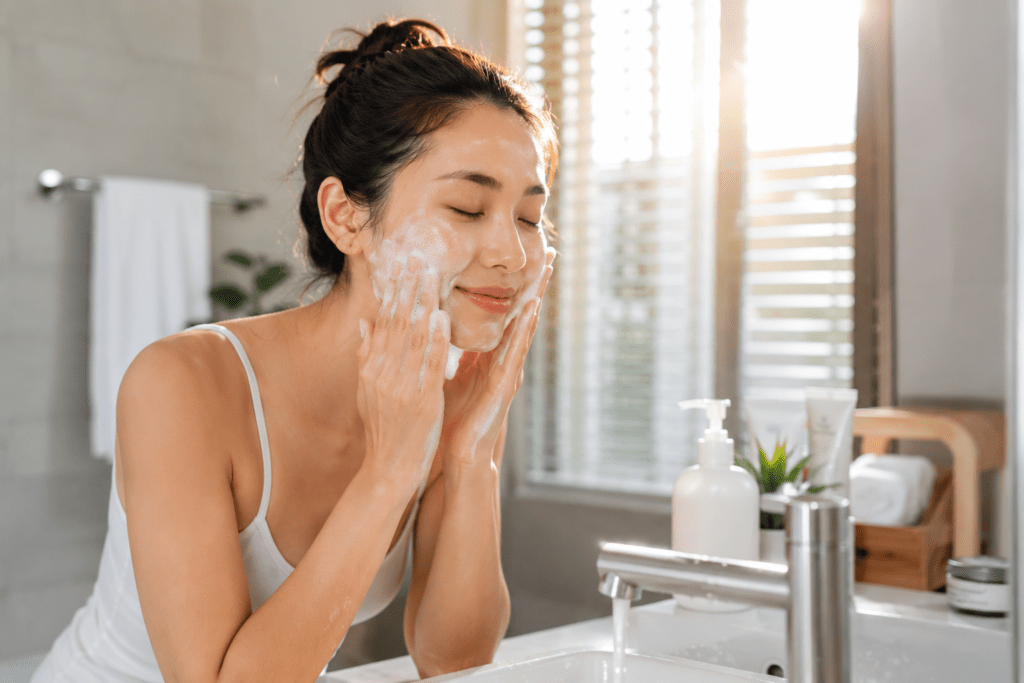
Daily cleansing is the foundation of clear skin. It removes dirt, oil, and sweat that is collected during the day. If you do not wash your face regularly, these things build up and make pores look bigger. The goal is to clean your skin without taking away too much of your natural, healthy oil. If you strip your skin too much, it might produce even more oil to compensate, which makes the problem worse.
Daily Rituals for Cleaner Skin
Use a mild, natural cleanser every morning and evening. You do not need expensive products to get the job done. Honey is a great natural cleanser because it has antibacterial properties. It cleans your skin while keeping it hydrated. Oatmeal is another gentle option. It can soak up excess oil and soothe irritation. Simply mix a little oatmeal with water to create a soft paste and massage it gently onto your face before rinsing.
Using Exfoliation to Clear Debris
Exfoliation is important because it removes dead skin cells that clog your pores. Think of it as a reset for your skin surface. When those dead cells are gone, your skin looks brighter and pores appear tighter. You can use ingredients from your kitchen for this step. Sugar is a simple physical exfoliant. Its small grains work well to buff away dull skin. Coffee grounds can also work as a scrub. Remember to be very gentle. Scrubbing too hard can irritate your skin and lead to redness. You only need to exfoliate one or two times a week to see benefits.
How to Minimize Pores Naturally With Targeted Toners
Toners help balance your skin and can provide a temporary tightening effect. After cleaning, a good natural toner prepares your skin for moisturizer. They remove any last bits of dirt and help your skin feel refreshed.
Step-by-Step Procedure: How to Use Natural Toners to Minimize the Appearance of Pores
Using a natural toner after cleansing helps remove any remaining impurities, balance your skin’s pH, and temporarily tighten the appearance of pores. Follow these simple steps for the best results.
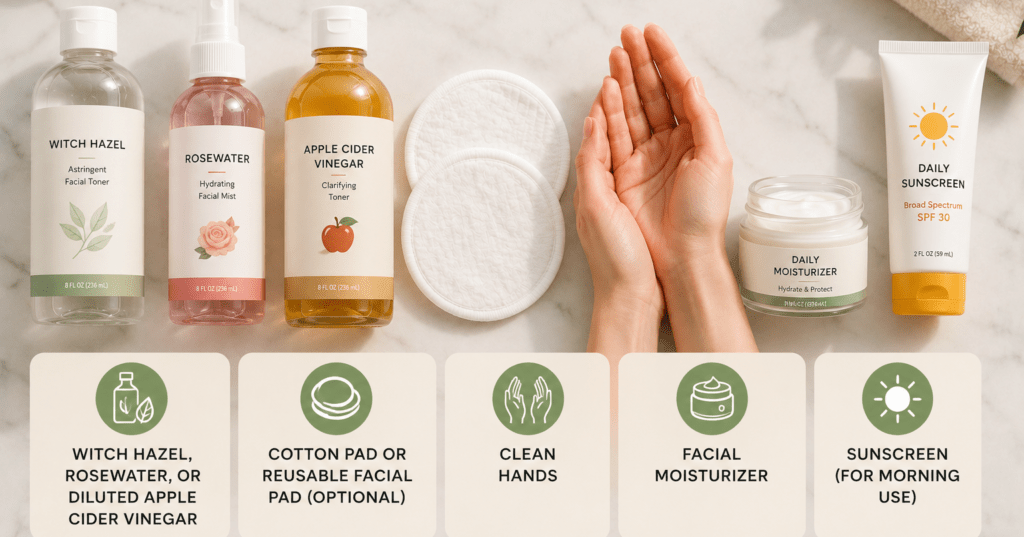
What You’ll Need
- Witch hazel, rosewater, or diluted apple cider vinegar
- Cotton pad or reusable facial pad (optional)
- Clean hands
- Facial moisturizer
- Sunscreen (for morning use)
Method 1: Witch Hazel Toner
Best for: Oily and combination skin
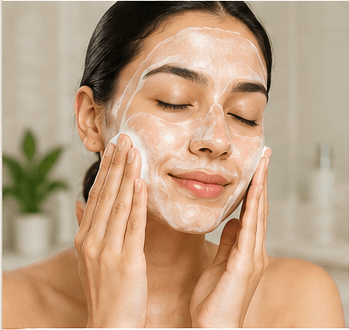
Step 1: Cleanse Your Face
Wash your face with a gentle cleanser and pat your skin dry with a clean towel.
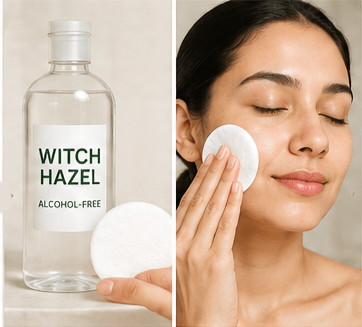
Step 2: Apply the Toner
Pour a small amount of alcohol-free witch hazel onto a cotton pad or into the palm of your hand.
Gently sweep or pat it over your face, paying extra attention to areas with visible pores, such as the nose, cheeks, and forehead.
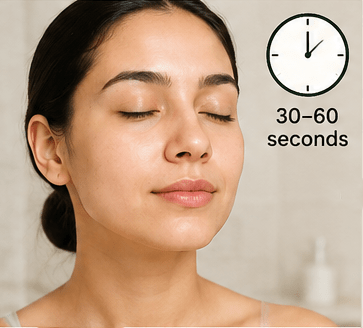
Step 3: Let It Absorb
Allow the toner to dry naturally for about 30–60 seconds.
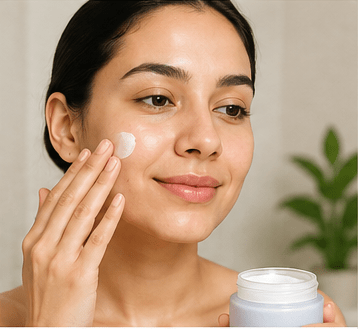
Step 4: Moisturize
Apply a lightweight moisturizer to lock in hydration and keep your skin balanced.
Frequency
Use once or twice daily after cleansing.
Method 2: Rosewater Toner
Best for: Dry, sensitive, and normal skin
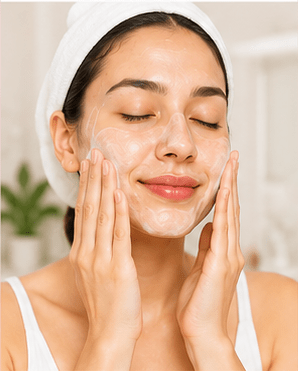
Step 1: Cleanse Your Face
Wash your face using a gentle cleanser and pat dry.
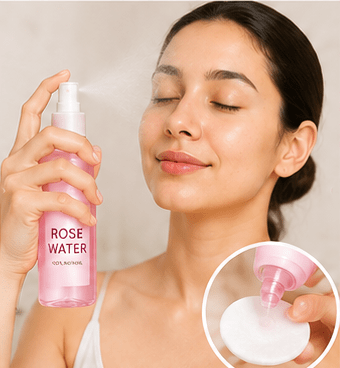
Step 2: Apply Rosewater
Spray rosewater directly onto your face or apply it with a cotton pad.
Avoid rubbing your skin. Instead, gently pat it using clean fingertips.
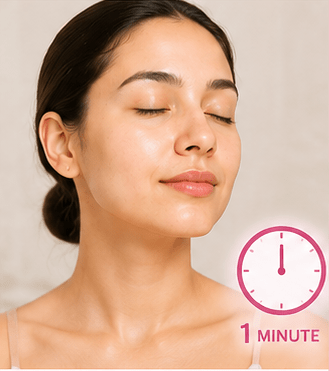
Step 3: Allow It to Dry
Wait about one minute before applying other skincare products.
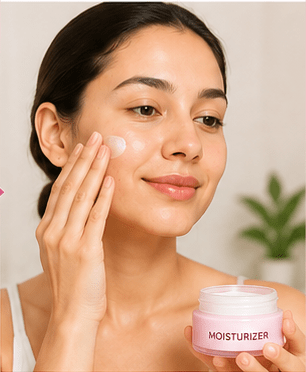
Step 4: Moisturize
Finish with your favorite moisturizer.
Frequency
Use morning and evening to refresh hydrated skin.
Method 3: Apple Cider Vinegar Toner
Best for: Oily skin (perform a patch test first)
What You’ll Need
- 1 tablespoon raw apple cider vinegar
- 3 tablespoons filtered water
- Small clean bottle
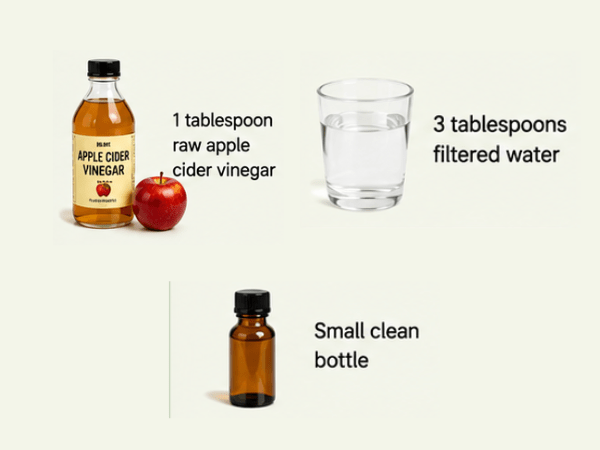
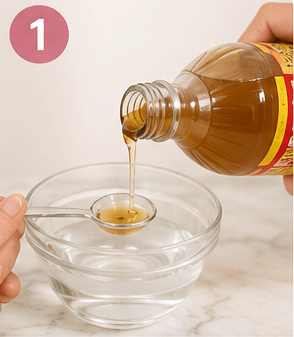
Step 1: Prepare the Toner
Mix one part apple cider vinegar with three parts filtered water.
Shake well before each use
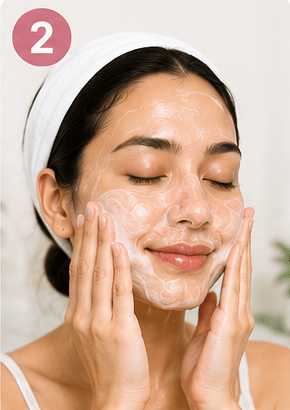
Step 2: Cleanse Your Face
Wash and gently dry your skin.
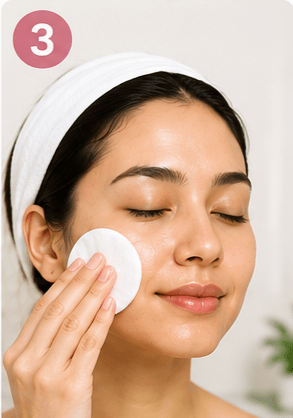
Step 3: Apply the Mixture
Using a cotton pad, lightly apply the diluted toner to your face while avoiding the eyes and any broken or irritated skin.
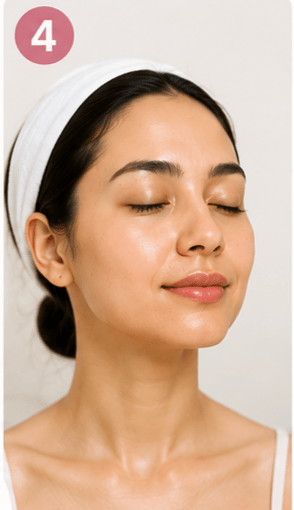
Step 4: Let It Dry
Leave it on for about one minute.
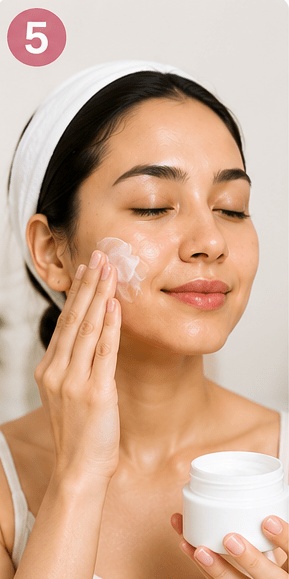
Step 5: Moisturize
Follow with a gentle moisturizer to prevent dryness.
Frequency
Use 2–3 times per week first. If your skin tolerates it well, you may gradually increase your usage.

Tip: Stop using the toner if you experience burning, excessive redness, or irritation.
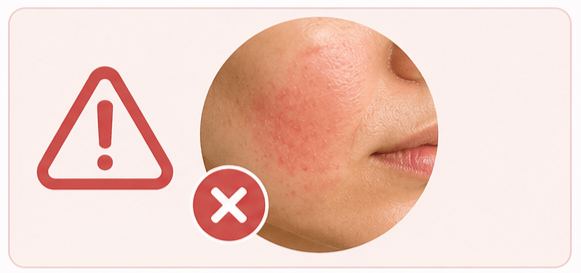
Step-by-Step Procedure: Cold Therapy for Temporary Pore Tightening
Cold therapy can temporarily tighten the skin, reduce puffiness, and make pores appear smaller. It works best before applying makeup or attending a special event.
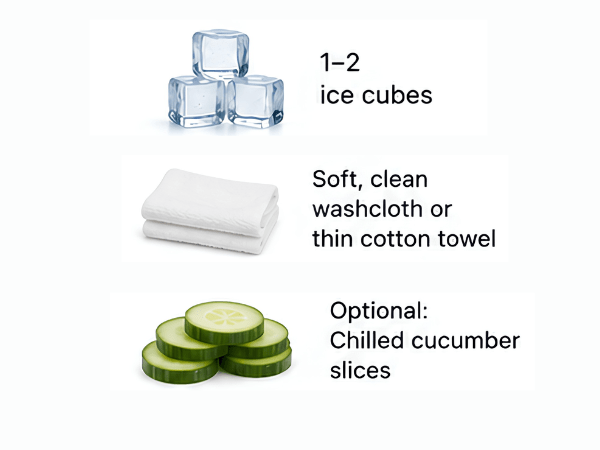
What You’ll Need
- 1–2 ice cubes
- Soft, clean washcloth or thin cotton towel
- Optional: Chilled cucumber slices
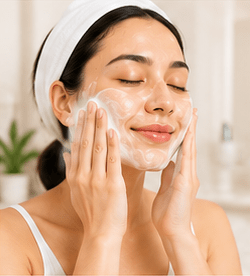
Step 1: Cleanse Your Face
Start with a freshly cleansed face to remove oil, dirt, and makeup.
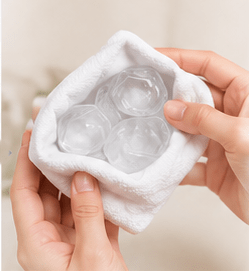
Step 2: Wrap the Ice
Place one or two ice cubes inside a clean, soft cloth.
Do not apply ice directly to your skin, as this may cause irritation or cold burns.
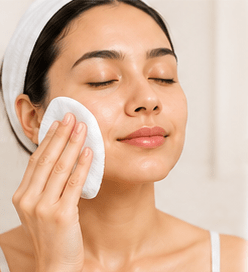
Step 3: Gently Apply
Lightly press the wrapped ice onto areas with visible pores, such as the nose, cheeks, and forehead.
Move the ice continuously instead of holding it in one place.
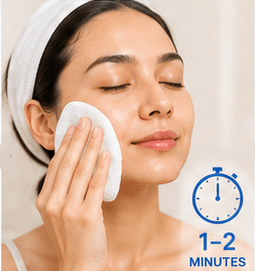
Step 4: Continue for 1–2 Minutes
Apply the cold compress for no more than two minutes to avoid irritating your skin.
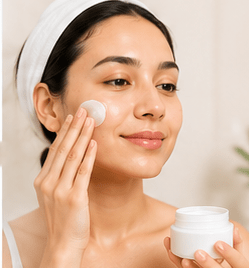
Step 5: Apply Moisturizer
Once your skin feels cool and refreshed, apply a lightweight moisturizer to help maintain hydration.
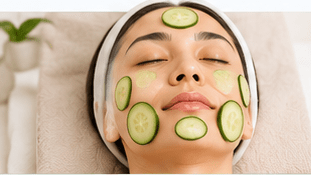
Optional Step: Use Chilled Cucumber Slices
Instead of ice, place chilled cucumber slices over your face for 5–10 minutes. The cooling effect can soothe the skin while temporarily minimizing the appearance of pores.
Safety Tips
- Always perform a patch test before trying a new natural toner.
- Choose alcohol-free witch hazel to avoid excessive dryness.
- Never apply undiluted apple cider vinegar directly to your skin.
- Do not place ice directly on your face.
- Finish your morning routine with a broad-spectrum sunscreen (SPF 30 or higher) to protect your skin from UV damage.
Nourish Your Skin From Within
Your diet affects your skin more than you might think. What you eat provides building blocks for healthy, elastic skin. A balanced diet keeps your skin functioning well, which indirectly makes pores look smaller.
Antioxidants That Protect Your Skin
Antioxidants protect your cells from damage caused by free radicals in the environment. Free radicals can break down collagen, which keeps your skin firm. When collagen breaks down, pores lose support and start to look bigger. Eat plenty of berries, like blueberries and strawberries, which are full of antioxidants. Leafy greens such as spinach and kale are also excellent choices. Nuts like almonds provide healthy fats and Vitamin E, which are great for maintaining skin health.
The Role of Hydration
Water is essential for your skin health. When your skin is dehydrated, it loses its elasticity and can look dull. This makes pores more obvious. Aim to drink enough water throughout the day to keep your body and skin hydrated. If you find plain water boring, add a slice of lemon or cucumber for flavor. Proper hydration helps your skin stay plump, which helps minimize the appearance of pores.
Natural Ingredients for Skin Firmness
Improving your skin’s elasticity is key to smaller-looking pores. When your skin is firm, it supports the structure around your pores, making them less visible.
Step-by-Step Procedure: Using a Clay Mask to Help Minimize the Appearance of Pores
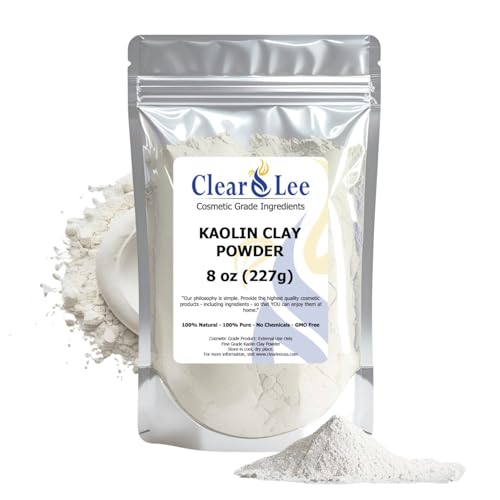
Clay masks help absorb excess oil, remove impurities, and leave your skin feeling cleaner and smoother. Regular use can help reduce the appearance of enlarged pores.
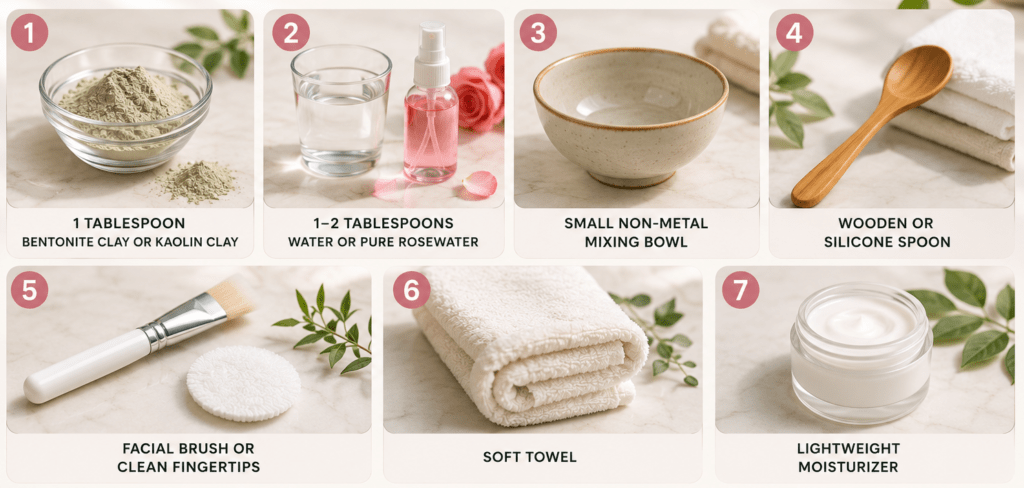
What You’ll Need
- 1 tablespoon bentonite clay or kaolin clay
- 1–2 tablespoons water or pure rosewater
- Small non-metal mixing bowl
- Wooden or silicone spoon
- Facial brush or clean fingertips
- Soft towel
- Lightweight moisturizer
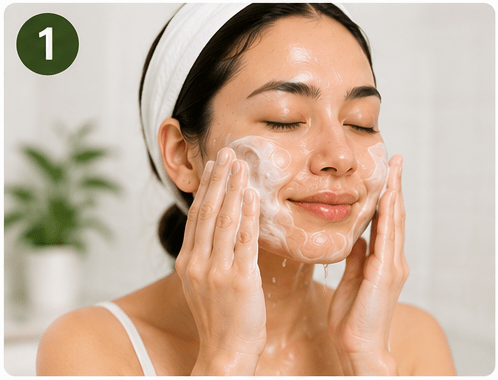
Step 1: Cleanse Your Face
Wash your face with a gentle cleanser to remove makeup, dirt, and excess oil. Pat your skin dry with a clean towel.
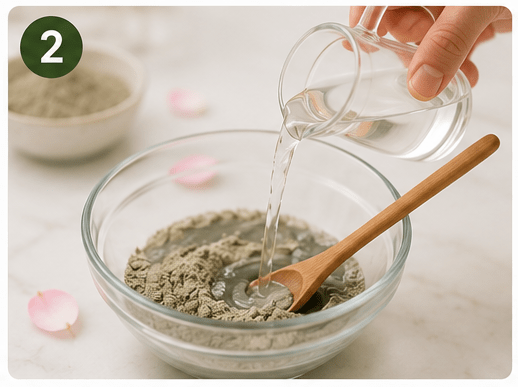
Step 2: Prepare the Clay Mask
Place 1 tablespoon of bentonite or kaolin clay into a small bowl.
Gradually add 1–2 tablespoons of water or rosewater while stirring until you achieve a smooth, creamy paste.
Tip: If using bentonite clay, avoid metal bowls or spoons, as they may reduce the clay’s effectiveness. Use glass, ceramic, wooden, or silicone tools instead.
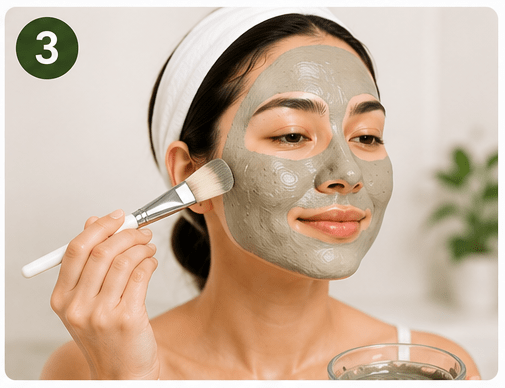
Step 3: Apply the Mask
Using clean fingertips or a facial brush, spread a thin, even layer over your face.
Focus on oily areas such as the forehead, nose, and chin (the T-zone), while avoiding the eyes, lips, and any irritated skin.
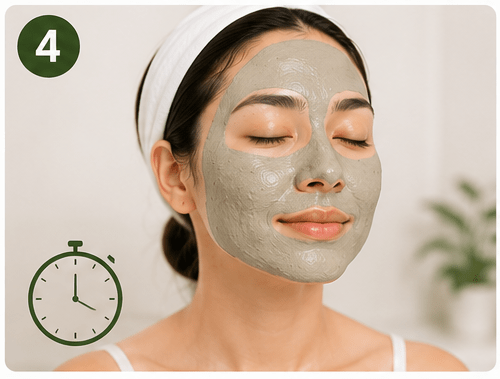
Step 4: Let the Mask Dry Partially
Leave the mask on for 8–10 minutes, or until it begins to dry but is still slightly damp.
Do not let the mask become completely dry or cracked, as this may over-dry your skin and cause irritation.
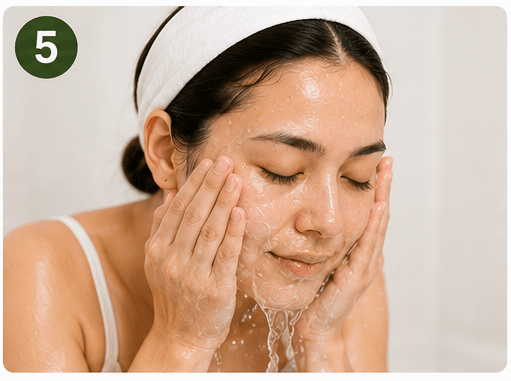
Step 5: Rinse Thoroughly
Use lukewarm water and gentle circular motions to rinse the mask completely.
Pat your face dry with a soft, clean towel.
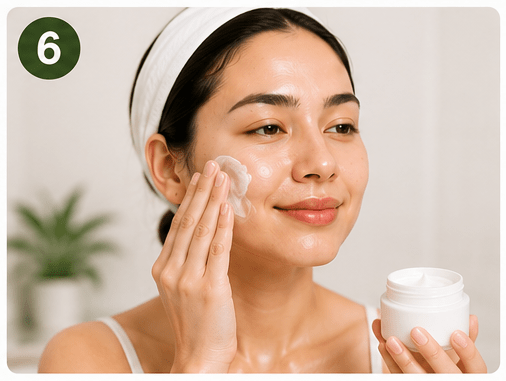
Step 6: Moisturize
Apply a lightweight, non-comedogenic moisturizer to restore hydration and help maintain your skin’s natural barrier.
Frequency
- Oily skin: Once or twice per week
- Combination skin: Once per week
- Dry or sensitive skin: Every 10–14 days or as tolerated
Step-by-Step Procedure: Using Essential Oils Safely for Firmer-Looking Skin
Certain essential oils may help soothe the skin, balance excess oil, and support a healthy-looking complexion when used correctly. Because essential oils are highly concentrated, they must always be diluted before application.
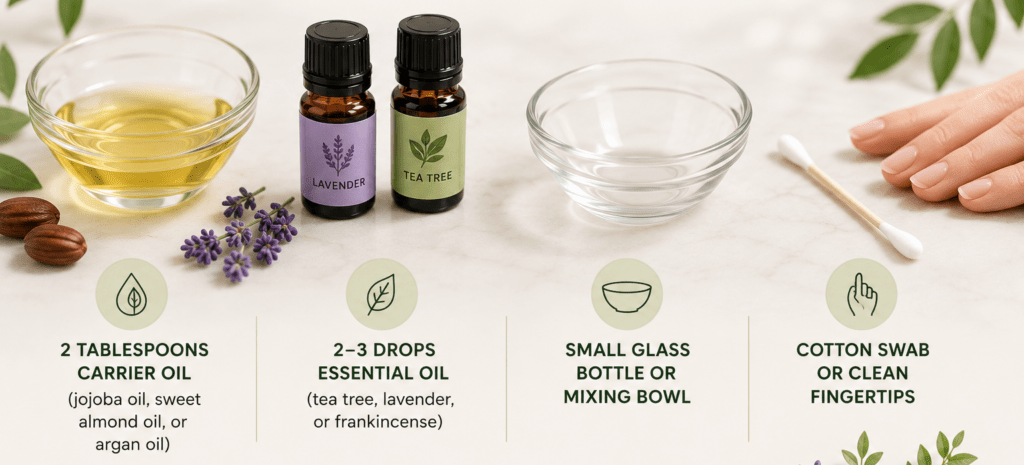
What You’ll Need
- 2 tablespoons carrier oil (jojoba oil, sweet almond oil, or argan oil)
- 2–3 drops of essential oil (tea tree, lavender, or frankincense)
- Small glass bottle or mixing bowl
- Cotton swab or clean fingertips
Step 1: Perform a Patch Test
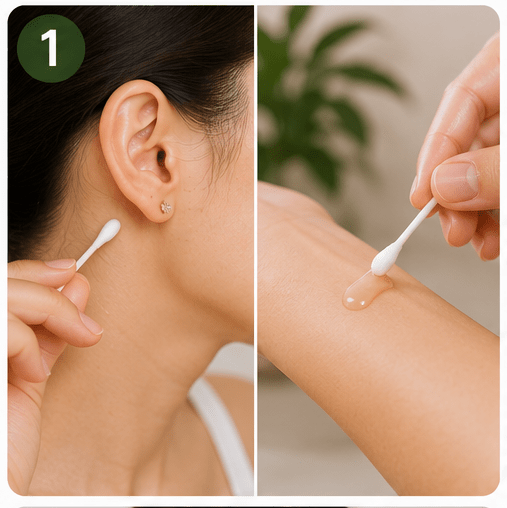
Before using any essential oil, mix a small amount with a carrier oil and apply it to the inside of your wrist or behind your ear.
Wait 24 hours to check for redness, itching, or irritation.
Only proceed if no reaction occurs.
Step 2: Prepare the Blend
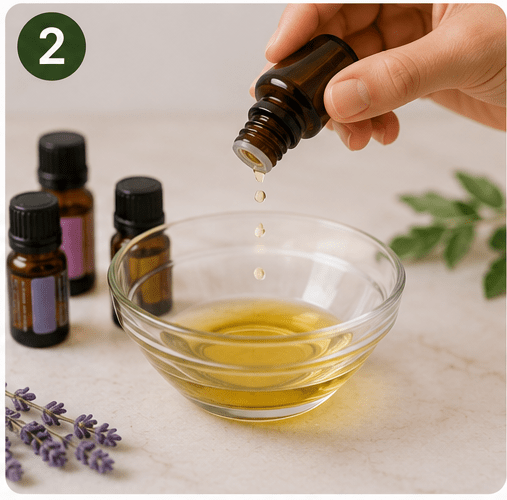
Add 2–3 drops of your chosen essential oil to 2 tablespoons of carrier oil.
Mix well.
Recommended combinations:
- Tea tree oil: Best for oily or acne-prone skin
- Lavender oil: Best for sensitive or normal skin
- Frankincense oil: Best for mature or uneven-looking skin
Step 3: Cleanse Your Face
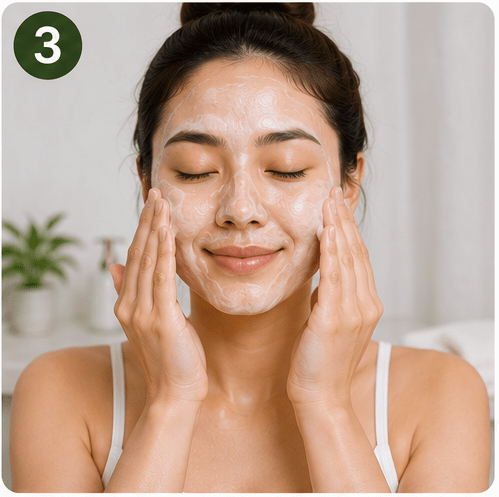
Wash your face with a gentle cleanser and pat it dry.
Step 4: Apply the Oil Blend
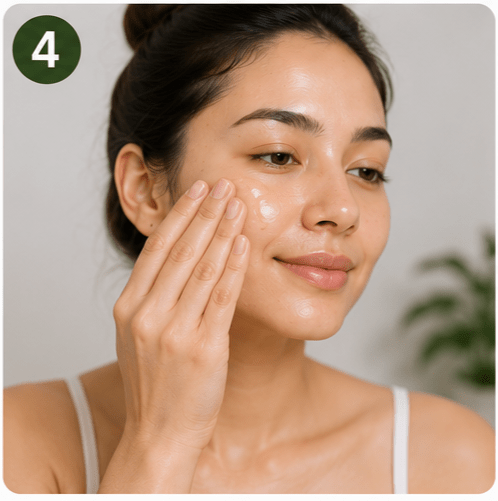
Place 2–3 drops of the diluted oil blend onto your fingertips.
Gently massage it into your face using upward, circular motions, focusing on areas where pores appear larger.
Avoid the eye area and broken or irritated skin.
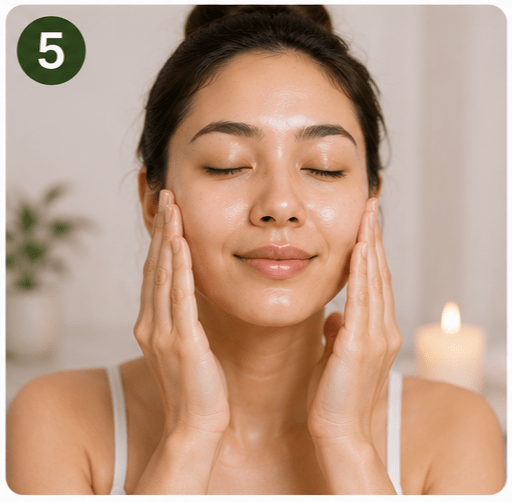
Step 5: Allow It to Absorb
Let the oil absorb naturally for several minutes before applying any additional skincare products.
If using the blend at night, you can leave it overnight.
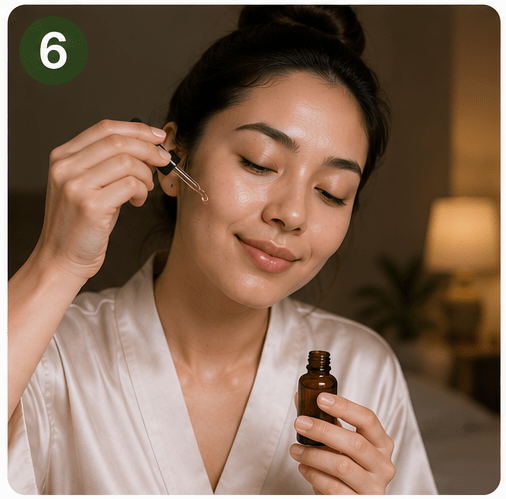
Step 6: Use Consistently
For best results, apply 2–3 evenings per week as part of your nighttime skincare routine.
Safety Tips
- Never apply essential oils directly to your skin without dilution.
- Always perform a patch test before first use.
- Stop using the product if irritation, burning, or excessive redness develops.
- Keep essential oils away from your eyes and mucous membranes.
- If using essential oils during the day, finish with a broad-spectrum sunscreen (SPF 30 or higher), as some oils may increase sun sensitivity.
Lifestyle Adjustments for Lasting Results
Your daily habits have a lasting impact on your skin. Making small changes can help you maintain a smoother appearance over the long term.
The Importance of Sun Protection
Sun damage is one of the worst things for your skin. UV rays break down collagen and elastin, which causes your skin to sag and pores to stretch. Using sun protection every single day is non-negotiable. Look for natural, mineral-based sunscreens that use zinc oxide or titanium dioxide. These sit on top of the skin and reflect harmful rays. Wearing a hat and staying in the shade when the sun is strongest also helps.
Managing Stress for Better Skin
Stress impacts your hormones, which in turn affects how much oil your skin produces. When you are stressed, your body produces more cortisol, which can lead to oilier skin and clogged pores. Find ways to manage stress that work for you. Meditation, deep breathing exercises, or simple daily walks can make a difference. Taking time to relax is not just good for your mind, it is good for your skin too.
Minimizing pores is about improving the health of your skin and keeping it clear. By using gentle cleansing methods, natural toners, and clay masks, you can remove debris that make pores look large. Protecting your skin from the sun and eating foods rich in antioxidants will help maintain the firmness of your skin over time. Keep your routine simple and consistent. It takes patience to see changes, but a holistic approach will reward you with a clearer, smoother complexion.
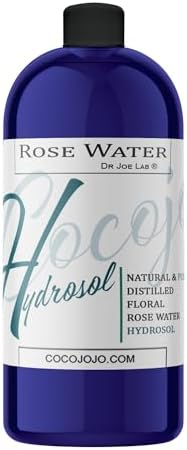
Recommended Products
Disclosure: As an Amazon Associate, I earn from qualifying purchases. We only recommend products that we believe offer value to our readers. Learn more.



Frequently Asked Questions (FAQ)
References
- American Academy of Dermatology – Skin Care Basics for Oily Skin
- Information on cleansing, managing excess oil, and skincare routines for oily skin.
- American Academy of Dermatology – Exfoliation Tips for Healthy Skin
- Guidance on safe exfoliation and avoiding over-exfoliation.
- American Academy of Dermatology – Sunscreen FAQs
- Explains why daily sunscreen helps protect collagen and prevent premature skin aging.
- National Institute on Aging – Skin Care and Aging
- Discusses how aging affects skin elasticity and collagen, contributing to more visible pores.
- American Academy of Dermatology – How to Select a Moisturizer
- Information on moisturizing and maintaining a healthy skin barrier.
- National Center for Complementary and Integrative Health – Tea Tree Oil
- Reviews evidence and safety considerations for tea tree oil use.
- Mayo Clinic – Healthy Lifestyle: Skin Care Basics
- General evidence-based skincare recommendations, including cleansing, moisturizing, and sun protection.
- Harvard T.H. Chan School of Public Health – The Nutrition Source: Antioxidants
- Explains the role of antioxidants in protecting cells from oxidative stress.
- American Academy of Dermatology – How to Care for Oily Skin
- Covers cleansing frequency, oil control, and pore-friendly skincare practices.
- National Institutes of Health – Office of Dietary Supplements: Vitamin E Fact Sheet
- Provides information about vitamin E’s role in protecting cells from oxidative damage.